


Glass & glazing Blog
Installing A Glass Splashback
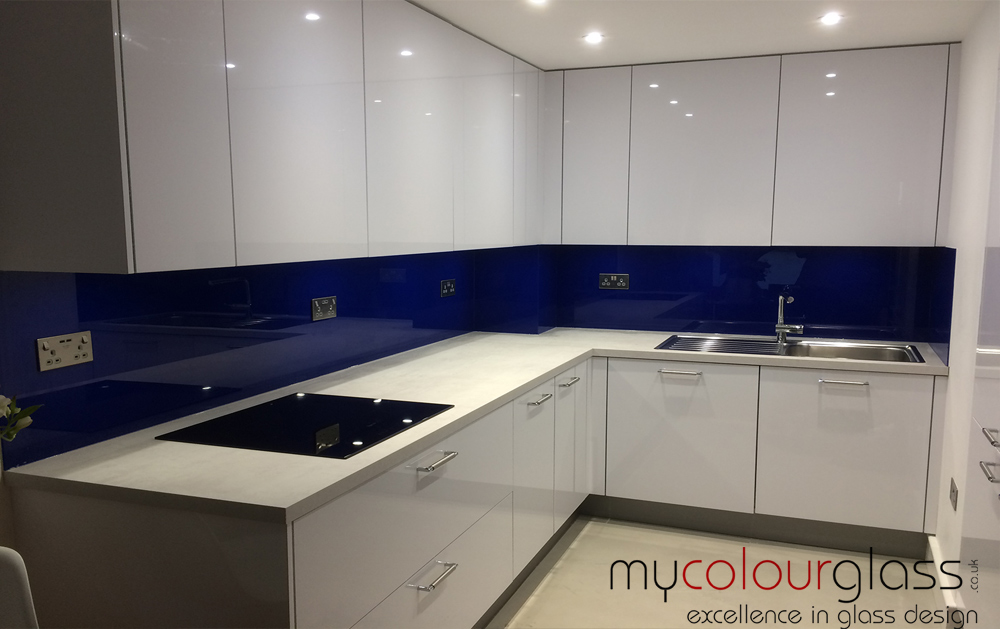
The use of custom glass splashbacks used to be restricted to those paying for expensive designers and showrooms only, but in recent years they have become very much mainstream and are one of the hottest trends in home renovations. While installing a glass splashback might seem like a difficult and complicated task, like most home renovations it is more a matter of planning and time than anything else. To ensure that you get a designer look in your home, follow the simple steps outlined below:
- Make complete and accurate measurements of the area that you want the splashback to sit. Remember that glass is an ideal material not only for the wall as a splashback but can also make an ideal and beautiful counter in your kitchen or bathroom. Like other home renovations, this step is probably the most critical as if your measurements are incorrect your splashback will not achieve the desired effect and you could also lose out on some of its effectiveness as a protective barrier. Any “cut outs” for power sockets, TV points and telephone sockets will need to be made before the glass is toughened as this can’t be done after the toughening process has been completed. If you are creating a bespoke look in your kitchen or bathroom and are worried about your measurements, feel free to contact us as we offer survey and measurement services throughout South East England and into the Home Counties.
- Once you have received your glass splashback from MyColourGlass you need to ensure that you correctly prepare the wall that you are going to be covering. As glass splashbacks can be placed behind cookers or sinks also, make sure that you do a very good job in your preparation as faults here could cause the seal between your splashback and the wall to fail, degrading its effectiveness. Some simple steps that must be taken to correctly prepare your walls are:
- Apply the glass to a clean, dry surface: do not fit glass on walls that could become damp.
- Pre-treat crumbling surfaces with a primer and smooth out any uneven wall surfaces. A smooth surface will ensure optimum adherence of the glass.
- There are two methods (bonding with silicone and through the use of screws) to fit the glass to the wall and while both work, the recommended option to give a clear and seamless look and join is using neutral silicone. Regardless of the method selected however it is necessary to ensure that a length of batten is utilized and is fixed in place at the correct height to support and carry the weight of the glass while the installation process is in progress.
While installing a splashback is something any competent home renovator can accomplish, MyColourGlass also offers installation services throughout the South East of England and into the Home Counties.