Glass & glazing Blog
Glass Splashback: A How To Guide
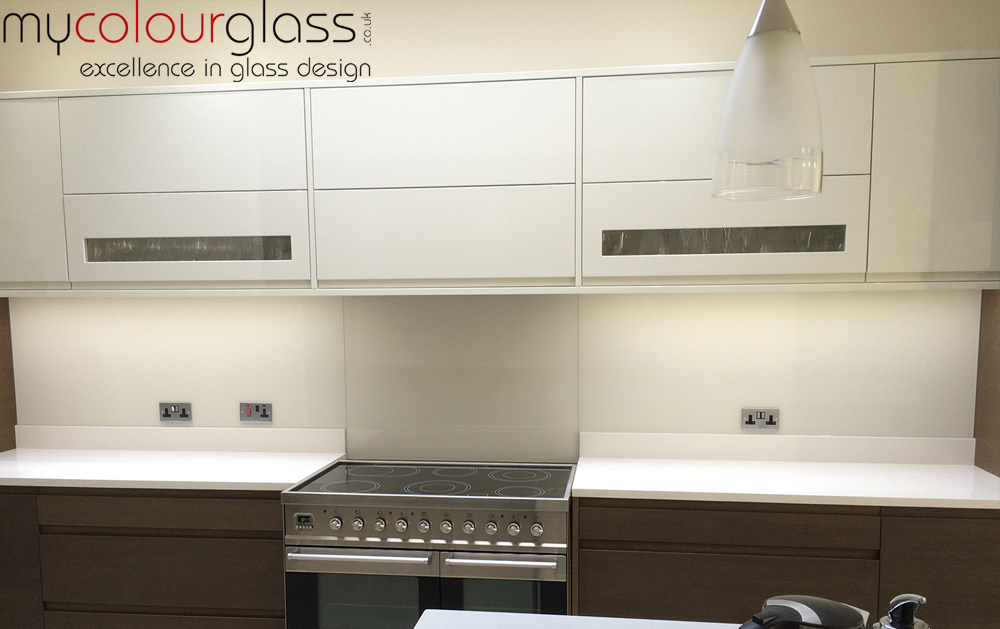
Glass splashbacks used to be restricted to the pages of glossy fashion magazines and fancy designer show homes, but they have now become one of the hottest trends in home renovations. Having a glass splashback in the kitchen or the bathroom simply transforms a home and with glass’ natural light refracting and reflecting qualities even the smallest of rooms becomes brighter and feels more spacious and glamorous.
If you are planning on having a glass splashback in your home there are several key things that you need to do to ensure that you get the look you are searching for.
Measure, measure, measure!: Like any other home renovation project, the most important thing is that you start right and to do that you need to ensure that you have correctly measured the surface of the wall that you wish to cover. Make sure that you carefully note all electrical sockets and plug points and where they are in relation to the dimensions of your wall – this is especially important as after the glass has been toughened it is not possible to have these cut into the glass without causing damage to your splashback.
Design: As splashbacks can be created in almost any colour that you can imagine, think about how you would like it to look and what effect you are going for. Feel free to check out our site for some inspiring ideas that will show you how to truly transform a room from the everyday into the exceptional if you are stuck for ideas. Remember that a glass splashback while extremely functional in its ability to protect your walls from the effects of excessive water acts as an excellent feature in a room also and you really want to emphasize that look in your home.
Preparation: Once you have received your splashback that has been cut to size to fit, make sure that the surface it will be sitting on is correctly prepared to receive it. This means filling in any holes and creating a smooth surface for the splashback to bond to. This step is only slightly less important than the measurement requirements as if your wall is not correctly prepared, your splashback will not be flush against it – this will unfortunately negate its effectiveness as a protective cover for your wall.
Installation: The final step is installing your splashback on your wall. Make sure that you choose the right bonding agents (we suggest neutral silicone versus the mechanical method with screws and clips) to ensure that your splashback has an effective seal.
Enjoy and make your friends jealous: Glass splashbacks are beautiful. Now that you have gone to all the hardwork of having one installed it is time for you to show it off! You will quickly see why this investment in your home is one of the hottest trends in home renovation today.
For help with any of the steps above – and we’d love to come to a dinner party too! – feel free to contact us at MyColourGlass. We are able to provide design, measurement and installation services throughout South East England and the Home Counties and we would love to help you make your home exceptional.


